ISO 9001 precision machining factory in Dongguan, China — prototypes to production, shipped worldwideinquiry@machined-parts-factory.com+86 176 2154 1688

CNC Machined Battery Cooling Plates and Housings in 6061-T6

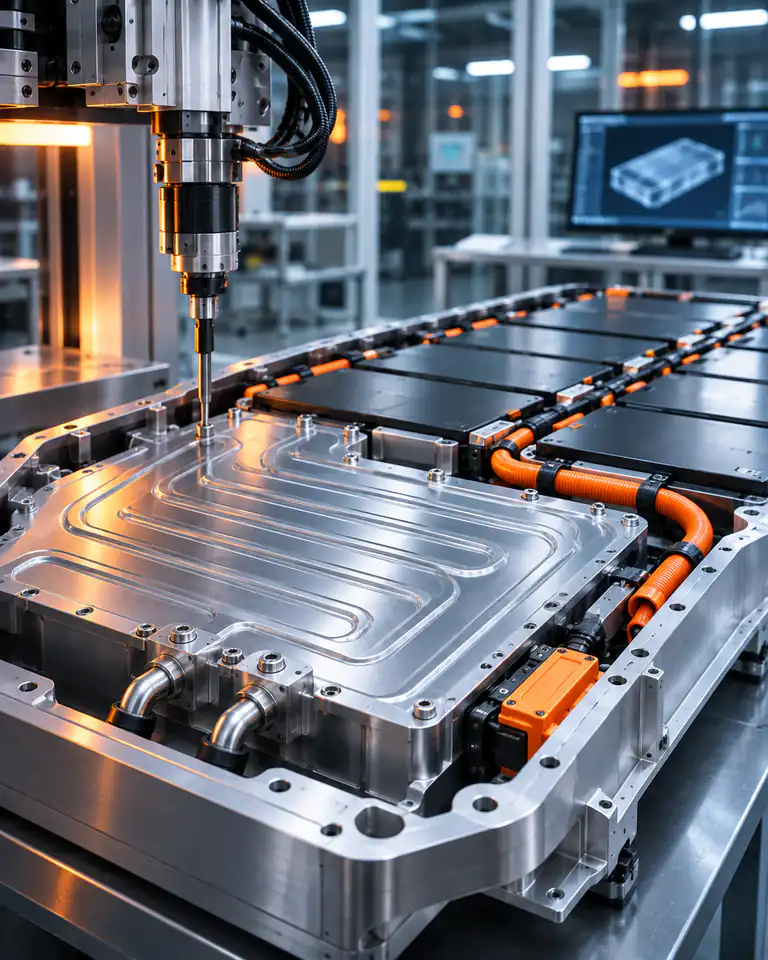
An energy-storage customer needed a liquid-cooled battery plate and its matching housing machined from solid 6061-T6 for a prototype pack. The program centered on keeping a large sealing face flat after heavy material removal and holding the coolant channel and O-ring groove geometry that the seal depends on.

  • New Energy
Part
Liquid cooling plate with bolted cover and module housing
Material
6061-T6 aluminum plate
Process
3-axis CNC milling, drilling and tapping
Critical tolerance
Sealing face flatness 0.10 mm; O-ring groove ±0.02 mm
Finish
Type II clear anodize, sealing face masked
Batch type
Prototype → pilot run
Inspection
CMM flatness and groove check, thread gauges, roughness tester

The challenge

A battery cooling plate is a thermal part and a sealing part at the same time. Coolant runs through milled channels under a bolted cover, and the joint is sealed by an O-ring sitting in a groove on a large flat face. If that face bows, the seal loses compression in some areas and the pack can leak.

The drawing called for:

  • Flatness of 0.10 mm across the sealing face of a plate several hundred millimeters long
  • O-ring groove width and depth held to ±0.02 mm, because groove fill and compression are set by the seal supplier's design rules
  • Channel walls as thin as 2 mm between adjacent coolant passages
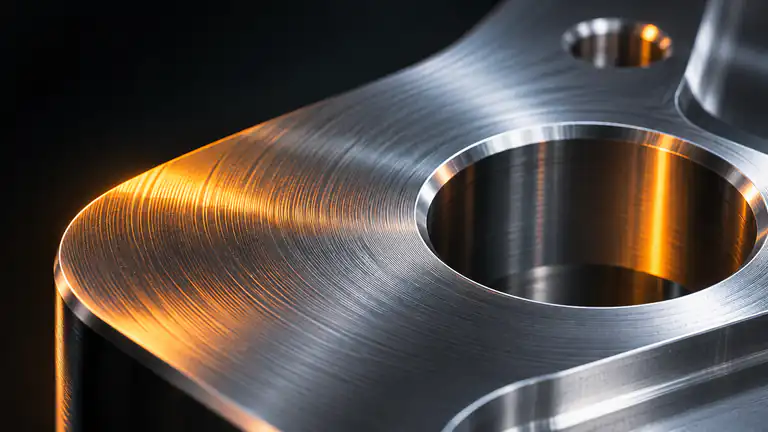
  • Sealing face roughness of Ra 1.6 µm or better, with no radial tool marks crossing the groove

The difficulty is that more than half of the stock is removed. Rolled aluminum plate carries residual stress, and when the channels are opened up that stress is released and the part moves. Clamping hard to hold it flat only hides the distortion until the part is unclamped.

Our approach

Our process route was built around controlling distortion rather than fighting it at the last operation.

  1. Stock selection. We cut blanks from stress-relieved 6061-T6 plate (T651 temper) and left extra stock on both faces.
  2. Roughing on both sides. The pocket side and the back face were roughed alternately, leaving about 1 mm on all surfaces, so stress was released evenly instead of from one side only.
  3. Rest and re-check. Roughed blanks were unclamped and left to settle before we measured them on a surface plate. This shows how much the part wants to move before any finished surface is cut.
  4. Re-establish datums. The back face was skimmed flat first, then used as the datum on a vacuum fixture. A vacuum table holds the part with distributed force, so it is not sprung by point clamps.
  5. Finish the sealing face and groove. We used a light finishing pass with a sharp, high-helix end mill and a single continuous toolpath around the groove to avoid witness marks where the cut starts and stops.
  6. Channels, ports and threads. Coolant channels were finish-milled, then inlet and outlet ports were drilled and tapped. Threads were chased with a thread mill for clean sealing faces at the port spot faces.
  7. Deburring and cleaning. Channel intersections were deburred by hand and the parts were washed to remove chips from internal passages.
  8. Anodize with masking. The sealing face and electrical ground points were masked before Type II clear anodizing, so coating thickness did not change groove depth.

The housing followed the same rough-rest-finish logic, with its mounting bosses finished in one setup to keep hole positions consistent with the plate.

Quality plan

The inspection plan was agreed with the customer's engineer before the first article was cut.

  • First-article inspection of every drawing dimension on CMM, including a flatness map of the sealing face taken in the free (unclamped) state
  • O-ring groove width and depth checked on CMM at several points around the perimeter
  • Surface roughness of the sealing face measured with a roughness tester
  • Port threads checked with go/no-go thread gauges after anodizing
  • Internal channels inspected visually and with a borescope-style light check for burrs and chips
  • 100% inspection of critical dimensions (flatness, groove, port threads) on every pilot-run part before shipment

Material certificates for the plate stock were supplied with the shipment, along with the first-article report and the dimensional report for each serial-numbered part.

What was delivered

We delivered the prototype plates and housings, followed by a pilot run built to the same process route without changes to fixturing or toolpaths. Each shipment included:

  • First-article inspection report with the free-state flatness map
  • Dimensional report for critical features on every part
  • Material certificates for the 6061-T651 plate
  • Anodize masking drawing showing which surfaces were left bare

Leak and pressure testing of the assembled pack was performed by the customer on their own test rig. The documented process route, fixtures and inspection plan are kept on file so the part can move to low-volume production on the same basis.

Questions about this project

Why does a battery cooling plate warp during machining?

Rolled aluminum plate contains residual stress. When deep channels and pockets remove a large share of the material, that stress is released and the plate bows. Roughing both sides, letting the part rest, and finishing on a vacuum fixture keeps flatness under control.

Should the sealing face of a cooling plate be anodized?

Usually it is masked. Type II anodize adds roughly 5–25 µm of coating, part of which grows outward, and that changes groove depth and seal compression. Masking keeps the sealing geometry exactly as machined.

More projects

All projects

Similar part?

Need a part like this?

Send your drawing and we’ll reply with a process plan and quote.

Chat on WhatsApp